Key Takeaways:
- Access the Twitch Creator Dashboard to add panels to your Twitch channel.
- Customize your panels with relevant information, such as your social media links and donation options.
- Utilize panels to enhance viewer engagement and provide important details about your stream.
- Experiment with different panel layouts and designs to find what works best for your channel.
Are you looking to take your Twitch channel to the next level? One of the best ways to do so is by using panels, a fantastic customization feature that can help you showcase important information and engage your viewers.
But how exactly do you add panels on Twitch?
In this article, I’ll walk you through the step-by-step process of adding and customizing panels on Twitch, as well as provide some tips for effective panel design. Whether you’re a beginner or a seasoned Twitch streamer, this guide will help you make your channel stand out and create a better experience for your viewers.
So let’s get started!
| Feature | Description |
| 1. Setting up an account | Sign up on the Twitch website by providing your email address, username, and password. |
| 2. Download OBS Studio | Get OBS Studio, an open-source software for live streaming. Install it on your computer. |
| 3. Set up OBS Studio | Configure OBS Studio settings, including your streaming preferences, video and audio sources, and output settings. |
| 4. Generate a stream key | In the Twitch dashboard, go to the Stream Key tab and click “Show Key.” Copy the stream key provided. |
| 5. Add a stream source in OBS Studio | In OBS Studio, create a new scene and add a source by selecting the “+” button. Choose “Window Capture” or “Display Capture” to capture your Twitch panel. |
| 6. Start streaming | Click “Start Streaming” in OBS Studio to begin broadcasting your panel on Twitch. |
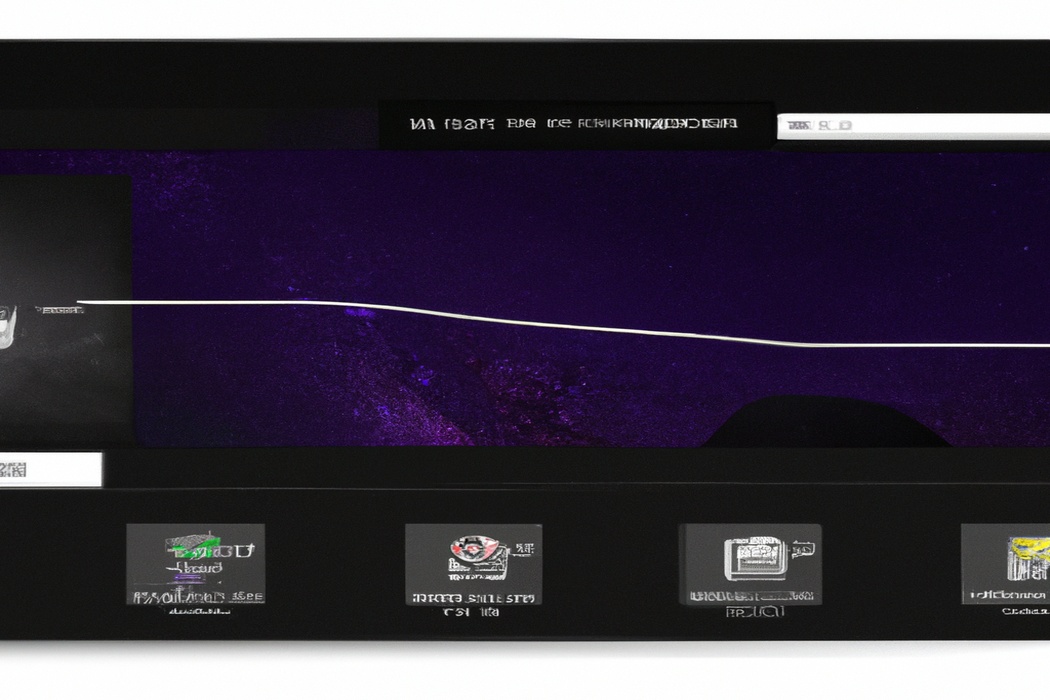
What are Panels on Twitch?
Panels on Twitch are customizable sections that allow you to add and display important information, such as your bio, schedule, social media links, and more on your Twitch channel.
Panels as a Customization Feature
Panels on Twitch are a great customization feature that allows you to personalize your channel’s appearance and provide important information to your viewers. You can add panels to your Twitch channel to showcase things like your social media links, streaming schedule, donation options, and more.
Panels can be fully customized with different images, colors, and text, allowing you to create a unique and engaging channel layout.
Adding panels is easy, and it’s a great way to make your Twitch channel stand out and provide valuable information to your audience.
Importance of Using Panels on Twitch
Using panels on Twitch is important because they help you create a well-organized and visually appealing channel.
Panels allow you to showcase important information like social media links, donation options, and channel rules.
They also provide a space for sponsors and collaborations.
Additionally, panels can help you engage with your audience by sharing information about your streaming schedule, upcoming events, and frequently asked questions.
With panels, you can customize your channel to reflect your brand and make it easy for viewers to navigate and interact with your content.
How to Add Panels on Twitch
To add panels on Twitch, follow these steps: accessing the Twitch Creator Dashboard, navigating to the “About” tab, adding panels, and customizing/editing panels.
Step 1: Accessing the Twitch Creator Dashboard
To access the Twitch Creator Dashboard, go to twitch.tv and log in to your account.
Once you’re logged in, click on your profile picture in the top right corner.
From the drop-down menu, select “Creator Dashboard.” This will take you to the Twitch Creator Dashboard where you can manage your channel, customize your panels, and more.
It’s your one-stop-shop for all things Twitch!
Step 2: Navigating to the “About” Tab
To navigate to the “About” tab on Twitch, follow these steps:
- Go to the Twitch website and log in to your account.
- Once logged in, click on your profile picture in the top-right corner of the screen.
- From the drop-down menu, select “Channel” to go to your channel page.
- On your channel page, you will see a row of tabs underneath your profile picture. Click on the “About” tab.
- You have now successfully navigated to the “About” tab, where you can edit and add panels to customize your Twitch channel.
Step 3: Adding Panels
To add panels on Twitch, go to your channel page and click on the Edit Panels button. Next, click on the “+” symbol to create a new panel.
Customize the panel’s title, image, description, and link.
You can also rearrange your panels by dragging and dropping them into your desired order. Don’t forget to click on the Submit button to save your changes.
Panels are a great way to showcase information, links, and graphics on your Twitch channel.
Step 4: Customizing and Editing Panels
Step 4: Customizing and Editing Panels To customize and edit panels on Twitch, go to your channel page and click on the “Edit Panels” button. From there, you can upload images, add text, and customize the layout of your panels.
You can also rearrange the order of your panels by dragging and dropping them into your desired position.
Don’t forget to add links to your social media accounts or other important information in your panels to engage with your viewers.
Tips for Effective Panel Design
To create effective panels, focus on keeping them straightforward and concise.
Keeping it Organized and User-Friendly
To keep your Twitch panel organized and user-friendly, here are a few helpful tips:
- Categorize your panels: Group similar panels together to make it easier for viewers to find the information they’re looking for. This could include panels for your social media links, donation options, schedule, and FAQ.
- Use clear and concise titles: Make sure the titles of your panels accurately describe what they contain. Avoid using vague or misleading titles that could confuse your viewers.
- Prioritize the important information: Place the most important panels at the top of your panel section, where they’ll be immediately visible to viewers. This might include your bio, streaming schedule, or any current announcements.
- Customize your panel images: Use eye-catching and relevant images for your panels to make them visually appealing. This can help draw viewers’ attention and make them more likely to click on the panels.
- Regularly update your panels: Keep your panels up to date with the most recent information. Remove any outdated or irrelevant panels, and add new ones as needed.
Remember, the goal is to make it easy for your viewers to navigate and find the information they need. By keeping your panels organized and user-friendly, you can enhance the overall experience for your Twitch community.
Writing Clear and Compelling Panel Titles and Descriptions
When it comes to writing clear and compelling panel titles and descriptions on Twitch, there are a few key things to keep in mind.
First, make sure your title accurately reflects the content of the panel and grabs your audience’s attention.
Use concise and engaging language that piques their curiosity.
Next, focus on writing a descriptive panel description that provides more details about what viewers can expect.
Be sure to highlight the main topics or themes that will be discussed and emphasize any special guests or unique aspects of the panel.
Additionally, consider using keywords and phrases that are relevant to your panel’s topic.
This can help your panel show up in relevant searches and attract the right audience.
Finally, proofread your title and description to ensure they are grammatically correct and free of errors.
A polished and professional presentation will make a positive impression and encourage viewers to tune in.
Embedding Links and Widgets
When it comes to adding links and widgets to your Twitch panel, there are a few things to keep in mind.
First, make sure you have the necessary permissions to embed the content you want.
Then, simply copy the HTML code provided by the website or platform and paste it into your Twitch panel settings.
You can also customize the appearance and position of the links and widgets to fit your panel design.
And don’t forget to regularly check that the embedded content is working properly.
Best Practices for Panel Content
Ensure your panel content effectively promotes your social media accounts and website. Additionally, consider showcasing sponsorship or affiliate programs and provide FAQs and contact information for easy access.
Promoting Social Media Accounts and Websites
Promoting your social media accounts and websites is essential for growing your online presence. Here are a few effective ways to do it:
- Engage with your audience: Respond to comments, ask questions, and participate in conversations to show that you value your followers.
- Share valuable content: Post interesting and relevant content regularly to keep your audience engaged. This could include blog articles, videos, or infographics.
- Cross-promote on different platforms: Use your various social media accounts to promote each other. For example, you can share a link of your website on your Twitter or Instagram bio.
- Collaborate with others: Team up with influencers or other individuals in your industry for cross-promotions or guest posts. This can help you reach a wider audience.
- Utilize hashtags and keywords: Use popular hashtags and keywords related to your niche to increase your visibility on social media platforms and search engines.
- Run contests and giveaways: Encourage your followers to share your content or tag their friends in exchange for a chance to win a prize. This can help increase your reach and engagement.
Remember, consistency and authenticity are key when promoting your social media accounts and websites. Keep your content valuable and tailored to your target audience, and you’ll see your online presence grow.
Showcasing Sponsorship or Affiliate Programs
To showcase your sponsorship or affiliate programs on Twitch, there are a few key strategies you can try.
- Create a dedicated panel on your channel: Incorporate a panel specifically designed to highlight your sponsorships or affiliate programs. This can include logos, special offers, and links to further details.
- Utilize eye-catching visuals: Grab viewers’ attention by using high-quality graphics and visuals that showcase your programs. This can include banners, images, and logos of your sponsors.
- Provide clear call-to-action: Make it easy for viewers to engage with your programs by clearly stating what they need to do. Whether it’s visiting a website, using a discount code, or signing up for a membership, be clear and concise in your instructions.
- Offer exclusive perks: Provide your viewers with incentives for participating in your sponsorship or affiliate programs. This can include exclusive discounts, early access to new products, or special perks solely for your Twitch community.
- Regularly update your panel: Keep your sponsorship or affiliate panel up to date with the latest information, promotions, and partnerships. This demonstrates to viewers that you are actively engaged in these programs and encourages them to participate.
Providing FAQs and Contact Information
When it comes to providing FAQs and contact information on your Twitch panel, there are a few best practices you can follow.
First and foremost, make sure you have a dedicated section for frequently asked questions on your panel.
This can help answer common queries and provide important information to your viewers.
Additionally, include clear contact information such as your email or social media handles so that viewers can easily reach out to you.
Remember to keep this section updated and easily accessible for your audience.
Frequently Asked Questions about Twitch Panels
Can I use images for my panels on Twitch?
Yes, you can definitely use images for your panels on Twitch! This is a great way to customize your channel and make it more visually appealing.
You can create your own custom images or use pre-made ones that fit your style and brand.
Adding images to your panels can help your viewers navigate your channel more easily and provide important information or links.
Just make sure to follow Twitch’s guidelines and ensure that your images are appropriate and don’t violate any copyright laws.
How many panels can I add to my Twitch channel?
You can add up to 16 panels on your Twitch channel. These panels are great for displaying information about yourself, your schedule, social media links, and more.
Don’t forget to use eye-catching images and clear text to make your panels attractive and informative.
Keep in mind that having too many panels can clutter your channel, so it’s important to prioritize the most important information. Experiment and find the right balance for your viewers.
Can I rearrange or delete panels after adding them?
Yes, you can definitely rearrange or delete panels after adding them on Twitch. The platform allows you to customize your panel layout according to your preference.
To rearrange panels, simply click on the panel you want to move and drag it to the desired position.
To delete a panel, click the three-dot menu icon on the top-right corner of the panel and select “Delete.” It’s that easy! Twitch gives you the flexibility to personalize your channel by managing your panels as you see fit.
Final Verdict
Panels on Twitch are a valuable customization feature that allows streamers to enhance their channel’s appearance and provide important information to viewers. Adding panels is a simple process that involves accessing the Twitch Creator Dashboard, navigating to the “About” tab, and customizing and editing panels according to personal preferences.
Effective panel design is key, with focus on keeping it organized, using engaging visuals, writing clear titles and descriptions, and embedding links and widgets for added functionality.
By following these best practices, streamers can elevate their Twitch channel and provide a better experience for their audience.
