Screenshots are a great way to capture what you see on your screen and share it with others. Screenshotting can be used for many purposes, from showing off an awesome new game or app idea to helping friends troubleshoot pesky problems in their software!
Mac users can take screenshots without using a keyboard! To do this, you can use either the Screenshot app or the Preview app. This can be helpful if your keyboard is not functional or you’re tired from all that typing or just extremely forgetful.
In this article, we will show you how to take a screenshot on your Mac without using the keyboard.

What is a Screenshot?
A screenshot is simply an image of what you see on your computer screen. When you take a screenshot, whatever is on your display will be recorded to the hard drive in a file.
Screenshots can be useful when you want to keep a record of something, such as your computer’s desktop.
Taking Screenshots without a KeyBoard
Using the Screenshot App
You may locate the Screenshot app in three ways:
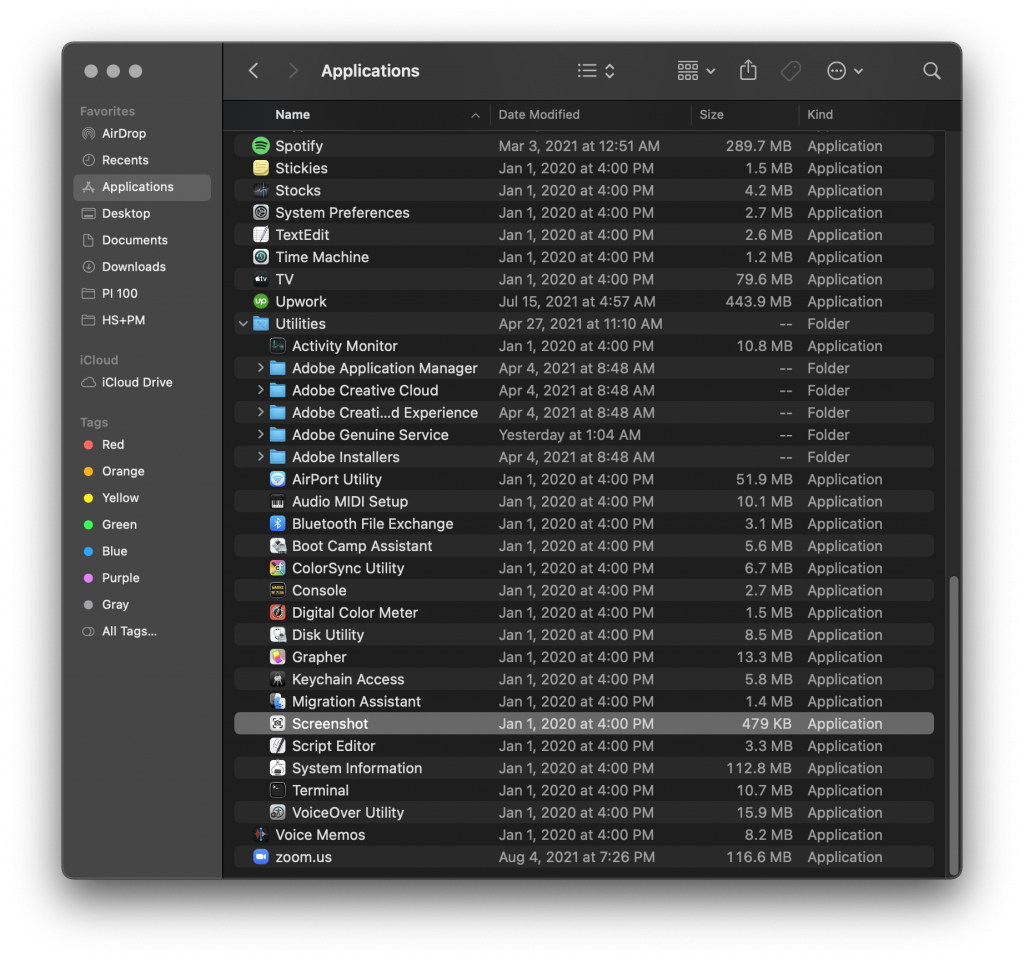
1. In Finder by navigating to Applications > Utilities,
2. In Launchpad by accessing the Other folder, or

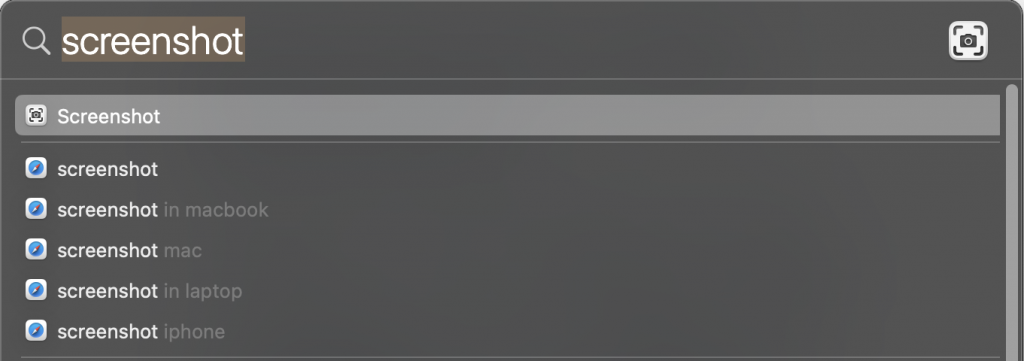
3. By using Spotlight to search for it.
After opening the Screenshot app, you have three options to take a screenshot:
- Capture Entire Screen
- Capture Selected Window
- Capture Selected Portion
Additionally, you’ll find choices to start a video recording of your Mac screen or a section of it at the bottom of the Screenshot app.
You can also open the Options menu to set various Screenshot settings, like choosing where you want your screenshots saved and how long before they automatically save.
Some other features of this program include whether or not you would like a timer to appear on-screen when taking screenshots, as well as making sure that the mouse pointer is visible during screenshot capturing.
Using the Preview App
In addition to the Screenshot app, you can also use Preview for taking screenshots on your Mac.
To take a screenshot of your computer screen, open the Preview app as you normally would using Finder or Launchpad. You can also use Spotlight to find it too!
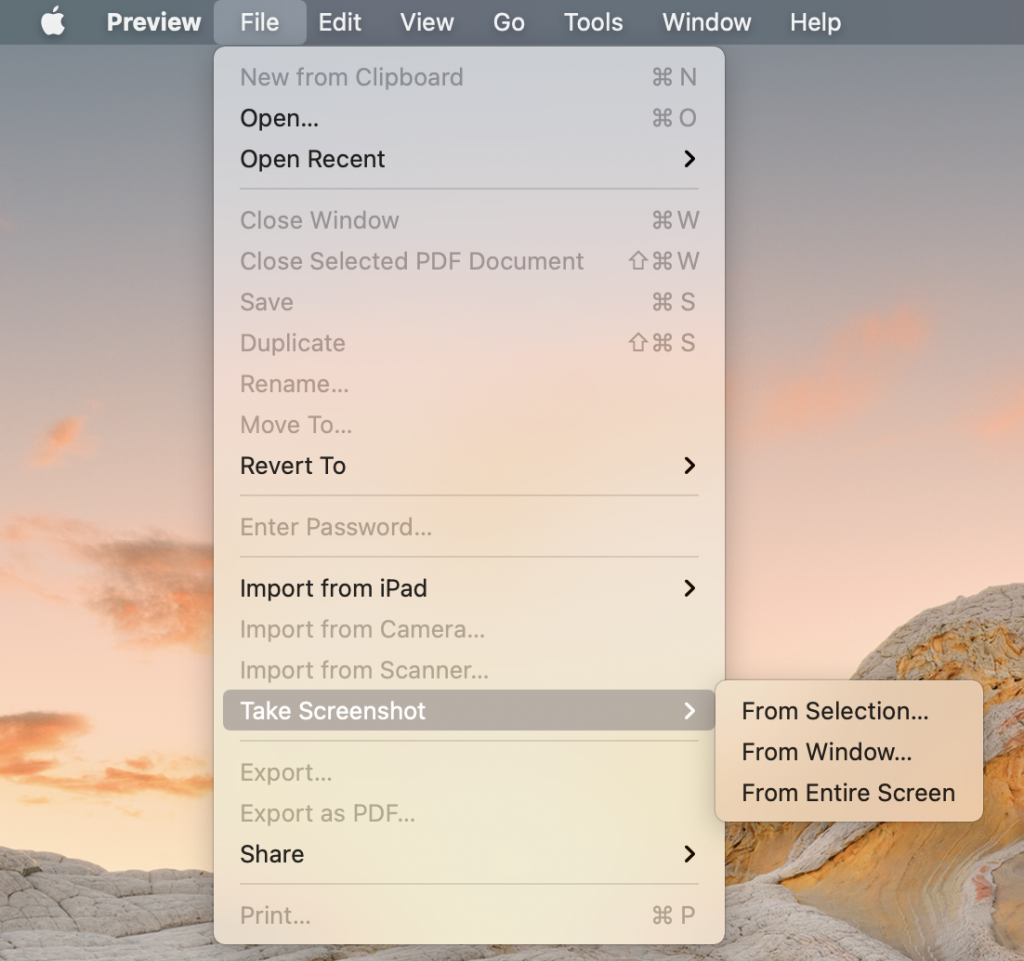
From there, go to File > Take Screenshot from the menu bar on top. Then, select one of the three screenshot choices below, then click or drag to capture your image.
- From Selection
- From Window
- From Entire Screen
Conclusion
With these options, you can take screenshots on your Mac without using the keyboard to do so. These methods are effective in their own way and allow for quick recording of screen content.
They also both have some nice features like saving photos to a specified folder, making sure that the mouse pointer is visible during capture, and having a timer appear when you first take a screenshot of your Mac’s screen.
With these tricks in mind, you’ll never again have to use your keyboard just to save a screenshot. There are so many great ways to take screenshots on a Mac computer instead of the standard Command + Shift + 3 combination.
