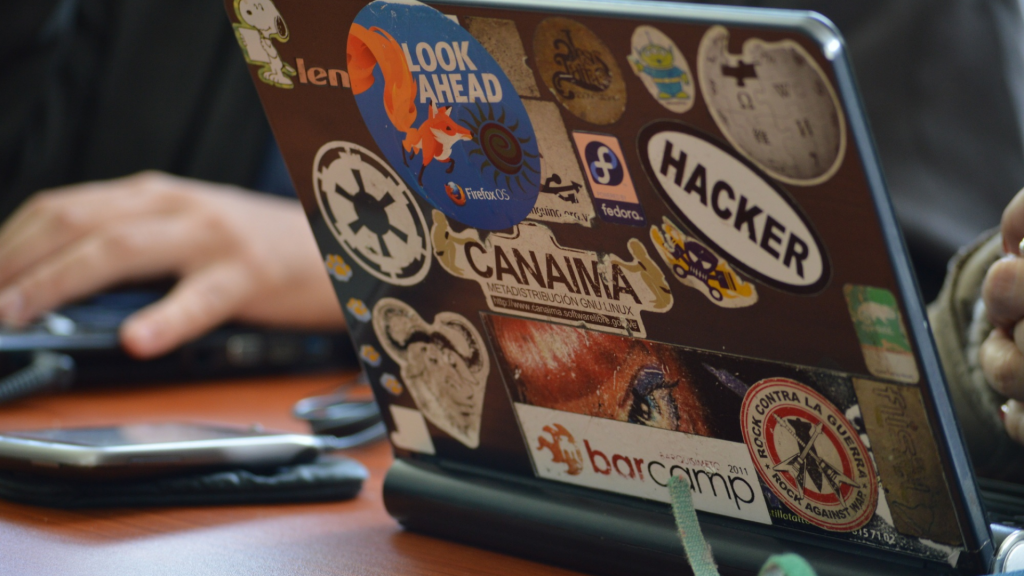
Laptops are like a window into our souls. Aside from stickers from manufacturers such as warranty seals, serial number stickers, and activation code labels, we put stickers on them to express ourselves and show off what’s important in life.
While stickers are great for decorating laptops and making a fashion statement, there is always the hassle of removing them when they get old or damaged. This can be tricky if you’re trying to resell your laptop.
Peeling stickers can be tedious and frustrating, but with the right tools on your side, you don’t have to worry about sticky residue left behind.
Start by slowly peeling a sticker with your fingernail or a card. If there’s a sticky residue left behind, pull it away with water, rubbing alcohol, or diluted vinegar, and then use a microfiber cloth or a mildly abrasive scrub pad to wipe clean any remaining mess before moving on to another area of the surface if necessary.

Step 1: Scrape off the Sticker
If the sticker has been on for under a year, you should be able to peel it off by scratching at the glue with your fingernails or a card without so much residue left.
However, over time, the glue backing separates from printed materials — making it harder to peel cleanly without some adhesive remaining.
To start, scrape lightly along its edges before slowly peeling upwards from one corner and then another.
Step 2: Wipe Off Adhesive
To safely clean your laptop, you’ll need to shut it down and unplug it from the power outlet before attacking any adhesive. If you’re able to remove the battery, that’s also a good idea as liquids are very dangerous near electronics.
To get rid of gunky residue, soak a clean microfiber cloth with hot water and wring it out well. Rub the spot with tight circular motions before applying pressure for about 2 minutes to scrub away dirt.
It’s important to keep the computer away from any moisture from cleaning as the laptop is a fragile device and can be damaged by liquids.
If your area has still sticky remnants, try rubbing it down with a hot wet cloth and some dish soap. Use the soapy corner of the cloth to rub at any wipeable areas where you find stickiness before wiping off what remains with the non-soapy part.
Once you’ve finished wiping off the adhesive, dry the surface with another clean cloth.
Step 3: Removing Stubborn Residue
If you’re in need of something to help remove stubborn adhesive residue and sticky stickers, try using rubbing alcohol. Just dip the corner of your microfiber cloth into some rubbing alcohol before scrubbing away!
If you don’t have any on hand or are looking for an alternative option, vinegar can also work well with water — equal parts white vinegar and warm water will do the trick perfectly.
And last but not least is vodka which works amazingly as another great solution for removing those troublesome stickers from seemingly every surface imaginable.
If wiping didn’t work, just let it sit for 2-3 minutes and then use a cloth to wipe away any leftover stains easily.
If the above method doesn’t do the trick simply use an abrasive scrub pad with light pressure like Mr. Clean Magic Eraser and soak in water first for maximum effect!
If all else fails, use a blow dryer to melt the glue and remove it. You’ll want to be careful when using this method though because you don’t want your laptop to overheat.
Conclusion
Removing stickers from your laptop is not a hard task. You just need to know how to do it safely and what kind of tools you can use to remove them.
Now that you know how to remove stickers from laptops, there’s no more need to dread the thought of having to peel off a sticker. With this guide, you’ll be able to get all your stickers removed in just a few easy steps.
